The Seelie Court is a Main Mission in King Arthur: Knight's Tale. The The Seelie Court mission is part of Act 3 it is located at Seelie Court. The main objective will be to find the Crystal of Light. Sir Mordred is a required hero for this mission. Completing this mission unlocks the next Main Mission The Unseelie Court, and may unlock Events such as Fame for Gold. For a list of all available missions, click here.
General Information
- Previous: Beyond the Veil
- Next: The Unseelie Court
- Recommended Level: lvl 13
- Bosses: n/a
The Seelie Court Map
NPCs in the Area
- Glarald
- Seer
Bosses
- n/a
Rewards
- Bonus Reward: High amount of experience
Building Resources
- + 300
Recruitable Heroes
- n/a
Enemies
Enemy Type: Seelie
- Glarald
- Springborn
- Summerborn
- Dawnbreaker
- Summer Knight
- Lady of Summer
- Seer
Notes
- Notes go here
Full The Seelie Court Walkthrough
Main Mission Introduction
"If I want to enter the Heart of the Deepwood, I must undertake two rites of admission, First in the Seelie Court, which is, as most things about the Sidhe, hard to describe. The Seelie Court is an as[ct of the Sidge, associated with summer and fire, and its also a place, hidden somewhere in the Deepwood. This is where I need to find their ancient crystal of light. "
Main Mission Completed Description
"I found the Crystal of Light. I have successfully completed the ritual of the Seelie Court. Still, I must undertake the ritual of the Unseelie as well."
The Seelie Court Main Mission Objectives
- Explore the first Glade
- Enter the next Glade
- Explore the second Glade
- Examine the statue
- Enter the next glade
- Examine the Crystal Columns
- Enter the next glade
- Complete the Final Ritual
Events that occur during the Main Mission, The Seelie Court.
- There are no events that occur during this missions
Explore the First Glade
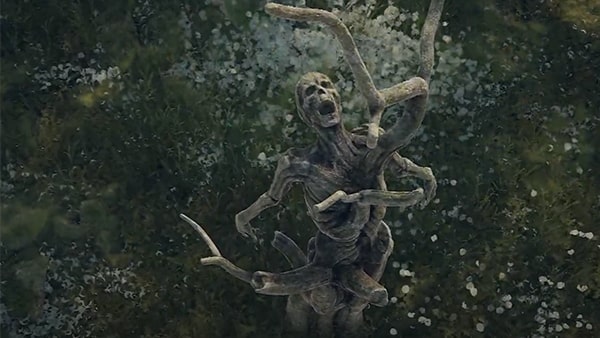
First Glade of the Seelie Court. Observe the statue of the Fallen at the starting area to gain XP. There will be five of these in the area that you need to observe in order to complete the first objective.
- Enter the next Glade
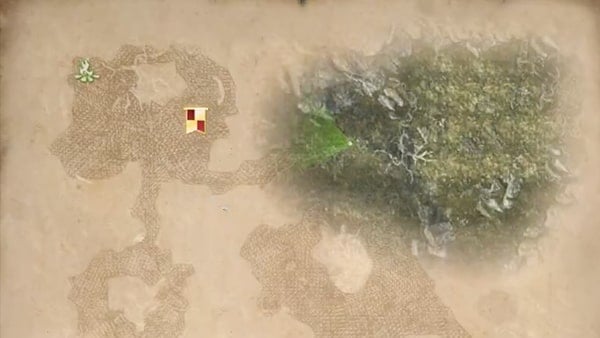
Head west towards the objective flag marker on the large map. The arrow on the minimap can also guide you to this location. While you are heading in this direction you will be told to follow a girl by the Lady of the Lake. Continue towards the flag marker. This will take you to the Second Glade. You will be met with Glarald. The end of this dialogue will end in combat.
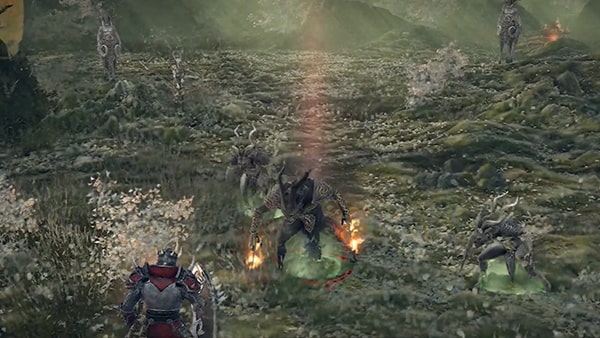
First focus on the three directly in front of you and clear them by using any desired attack. You may need to approach to them to get in range for melee attacks. Watch the mini map to see how many you will be going against. After you clear Glarald, the rest of of them will hold a basic set of stats. For this fight, you may choose to spread your heroes out to cover more ground and clear the corners of enemies until the battle is finished.
Explore the Second Glade
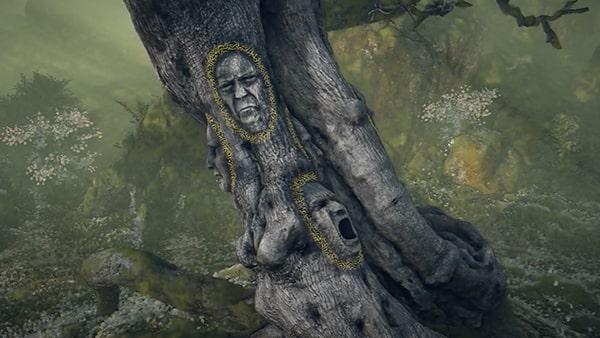
After battle, you will then be told to approach the tree and talk to it. In the second glade you will be need to observe two soul mirrors located nearby. This will give you access to the next glade.
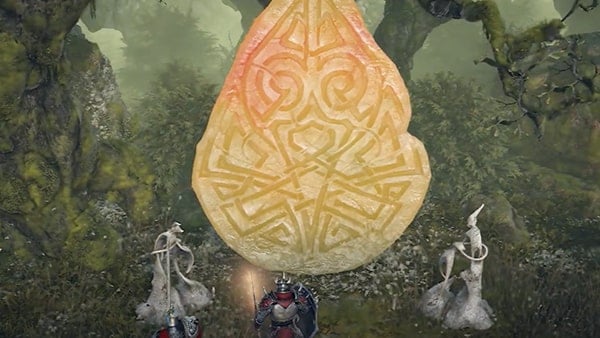
- Enter the next glade
You will have a new marker to follow and you will soon enter the Third Glade of the Seelie Court and face another battle. Approach any enemies to help you get within striking range and slowly clear the area.
- Examine the statue
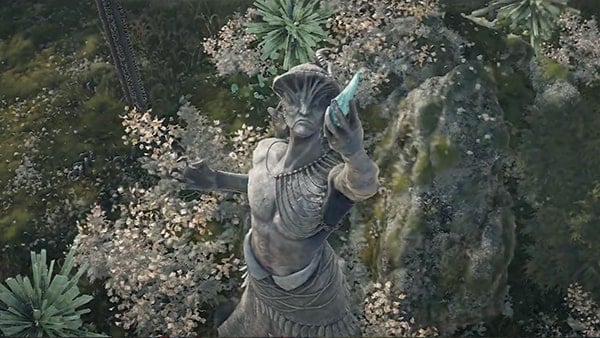
Your objective will then be to examine the statue of the ancient race of the Tuatha De Danann. It should be in in view within the battle area, but if it not, it will also be marked on your map. The Lady of the Lake claims she is their last descendant. Exanububg statue will reveal the next area.
- Enter the next glade
Follow the marker to the fourth glade. Expect the next battle. The enemies in this area will appear in groups, so you may deal any available attacks with an AoE to maximize damage to multiple enemies. Approach each group if needed to gain a better position to strike them.
- Examine the Crystal Columns
- Enter the next glade
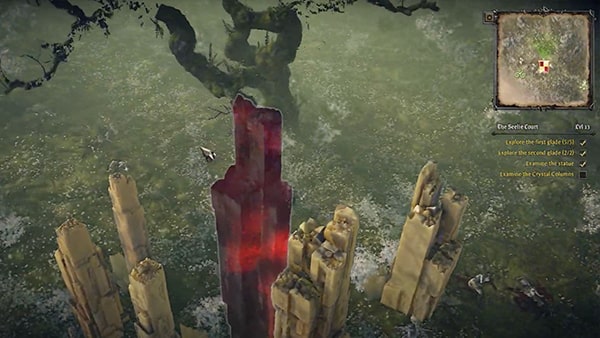
After the battle you will be tasked to examine the crystal columns. Afterwards you can enter the next glade. This will be the last glade. This is where you will meet the Seer and engage in dialogue. Prepare for battle after the dialogue. You will only be facing the four of them. You can send one of your heroes to move behind them to strike from the left and right so you can perform a backstab. Slowly close in on them until they are cleared.
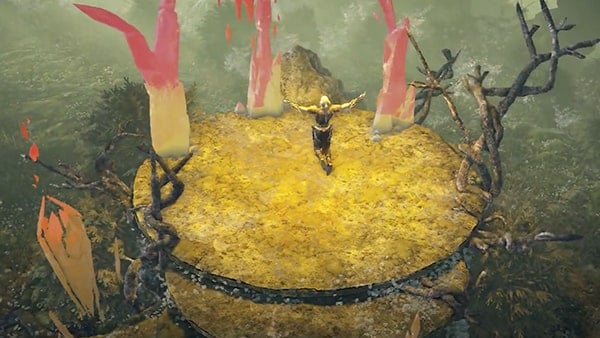
Complete the Final Ritual
You can choose to finish the mission by completing the last objective marked on your map. Though you may notice there may be some undiscovered parts of the map you may want to explore if you haven't already. When you are done, approach the final objective point. This will complete the mission.
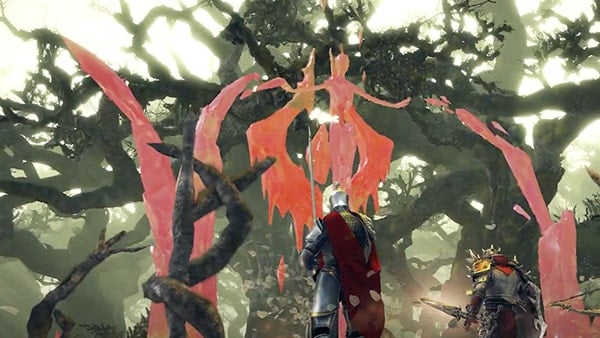
Hidden Glade
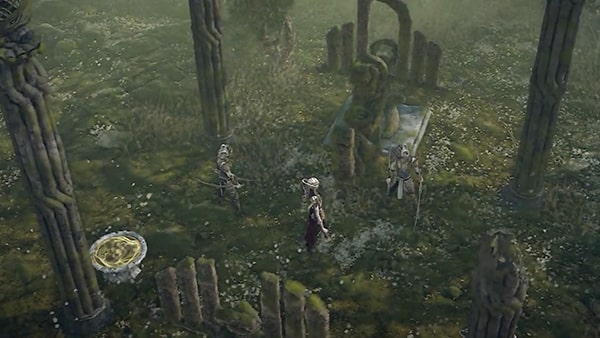
The Hidden Glade is located towards the Southeast corner of the map. If you choose to explore the area, you will be met with combat. Clearing the area will give you access to a two shrines which will grant your desired hero a buff.
The Seelie Court Map
 Anonymous
If you have the Faerie Knight, and if you leave the Seer for last, you'll have the option of sparing him.

 Anonymous
The talking trees have a secret. If you find them all they tell you to run as Darkness is coming.


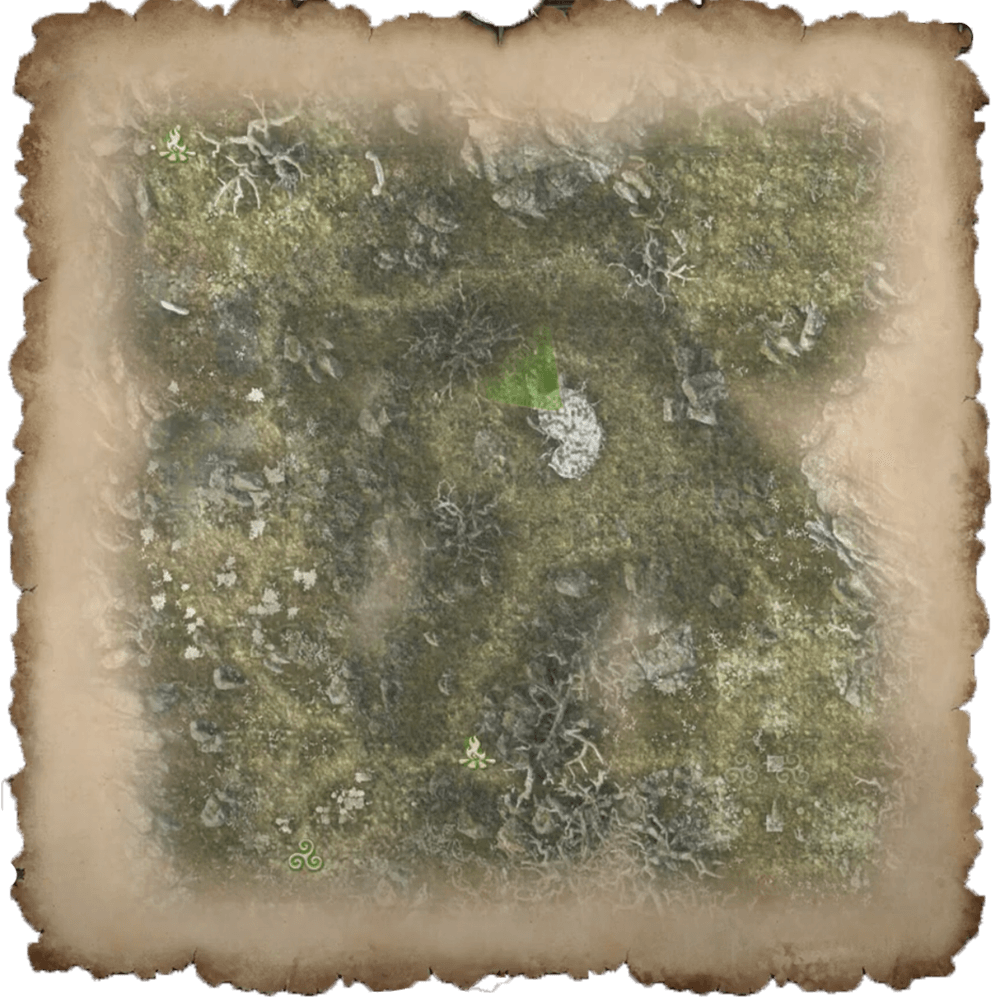
Tons of secret chests here. Perception and Spellcraft level 2 required, to find all of them. Most of the loots were mediocre but one which required Spellcraft level 2 to find had a relic weapon.
0
+10
-1